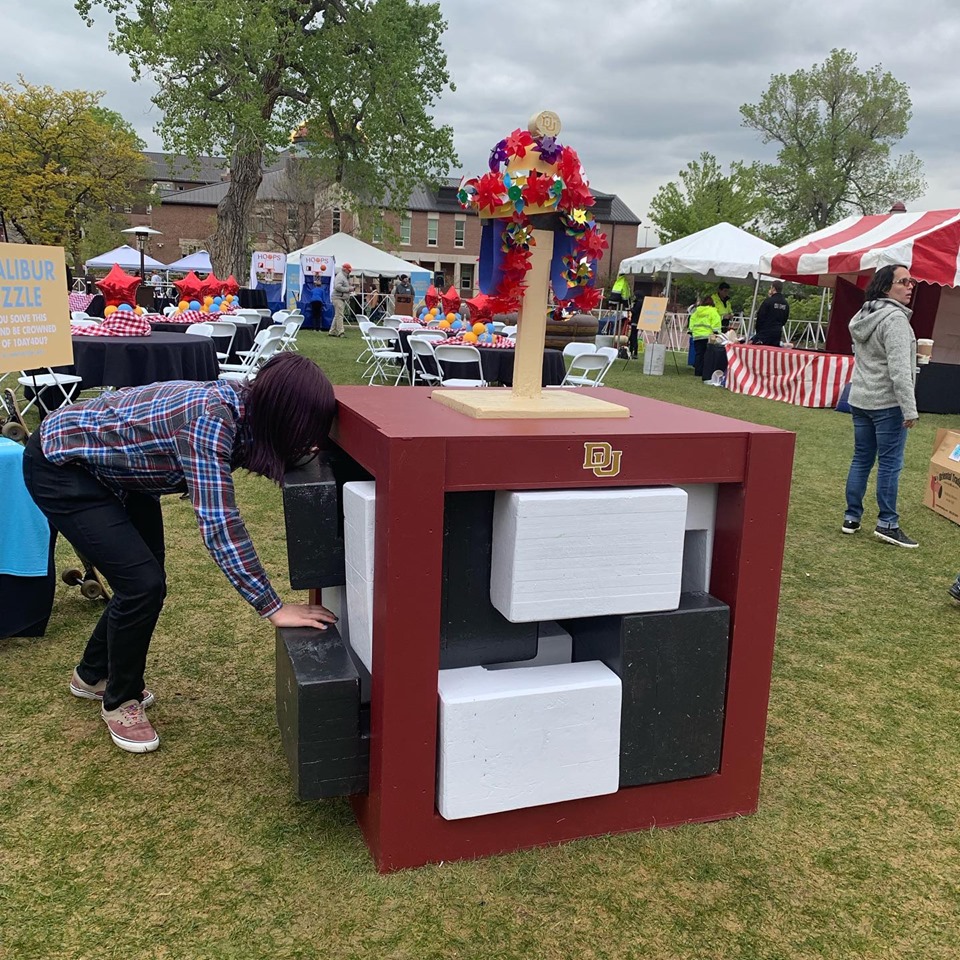
Giant Excalibur Puzzle

Who needed a giant puzzle?
This puzzle was made for the 1DAY4DU fundraising event hosted by the University of Denver. It aimed at being a focal point for photos taken by attendees of this fundraising frenzy. I wanted the photo opportunity to be more than just a place to take pictures, I wanted it to be interactive for all attending. I found a very difficult puzzle online (designed by Stephan Baumegger) and 3D-Printed a smaller version to play around with. When I pitched a giant version to University of Denver’s Advancement’s team using my smaller model, they were all for it and decided I could go ahead with it.
How was it made?
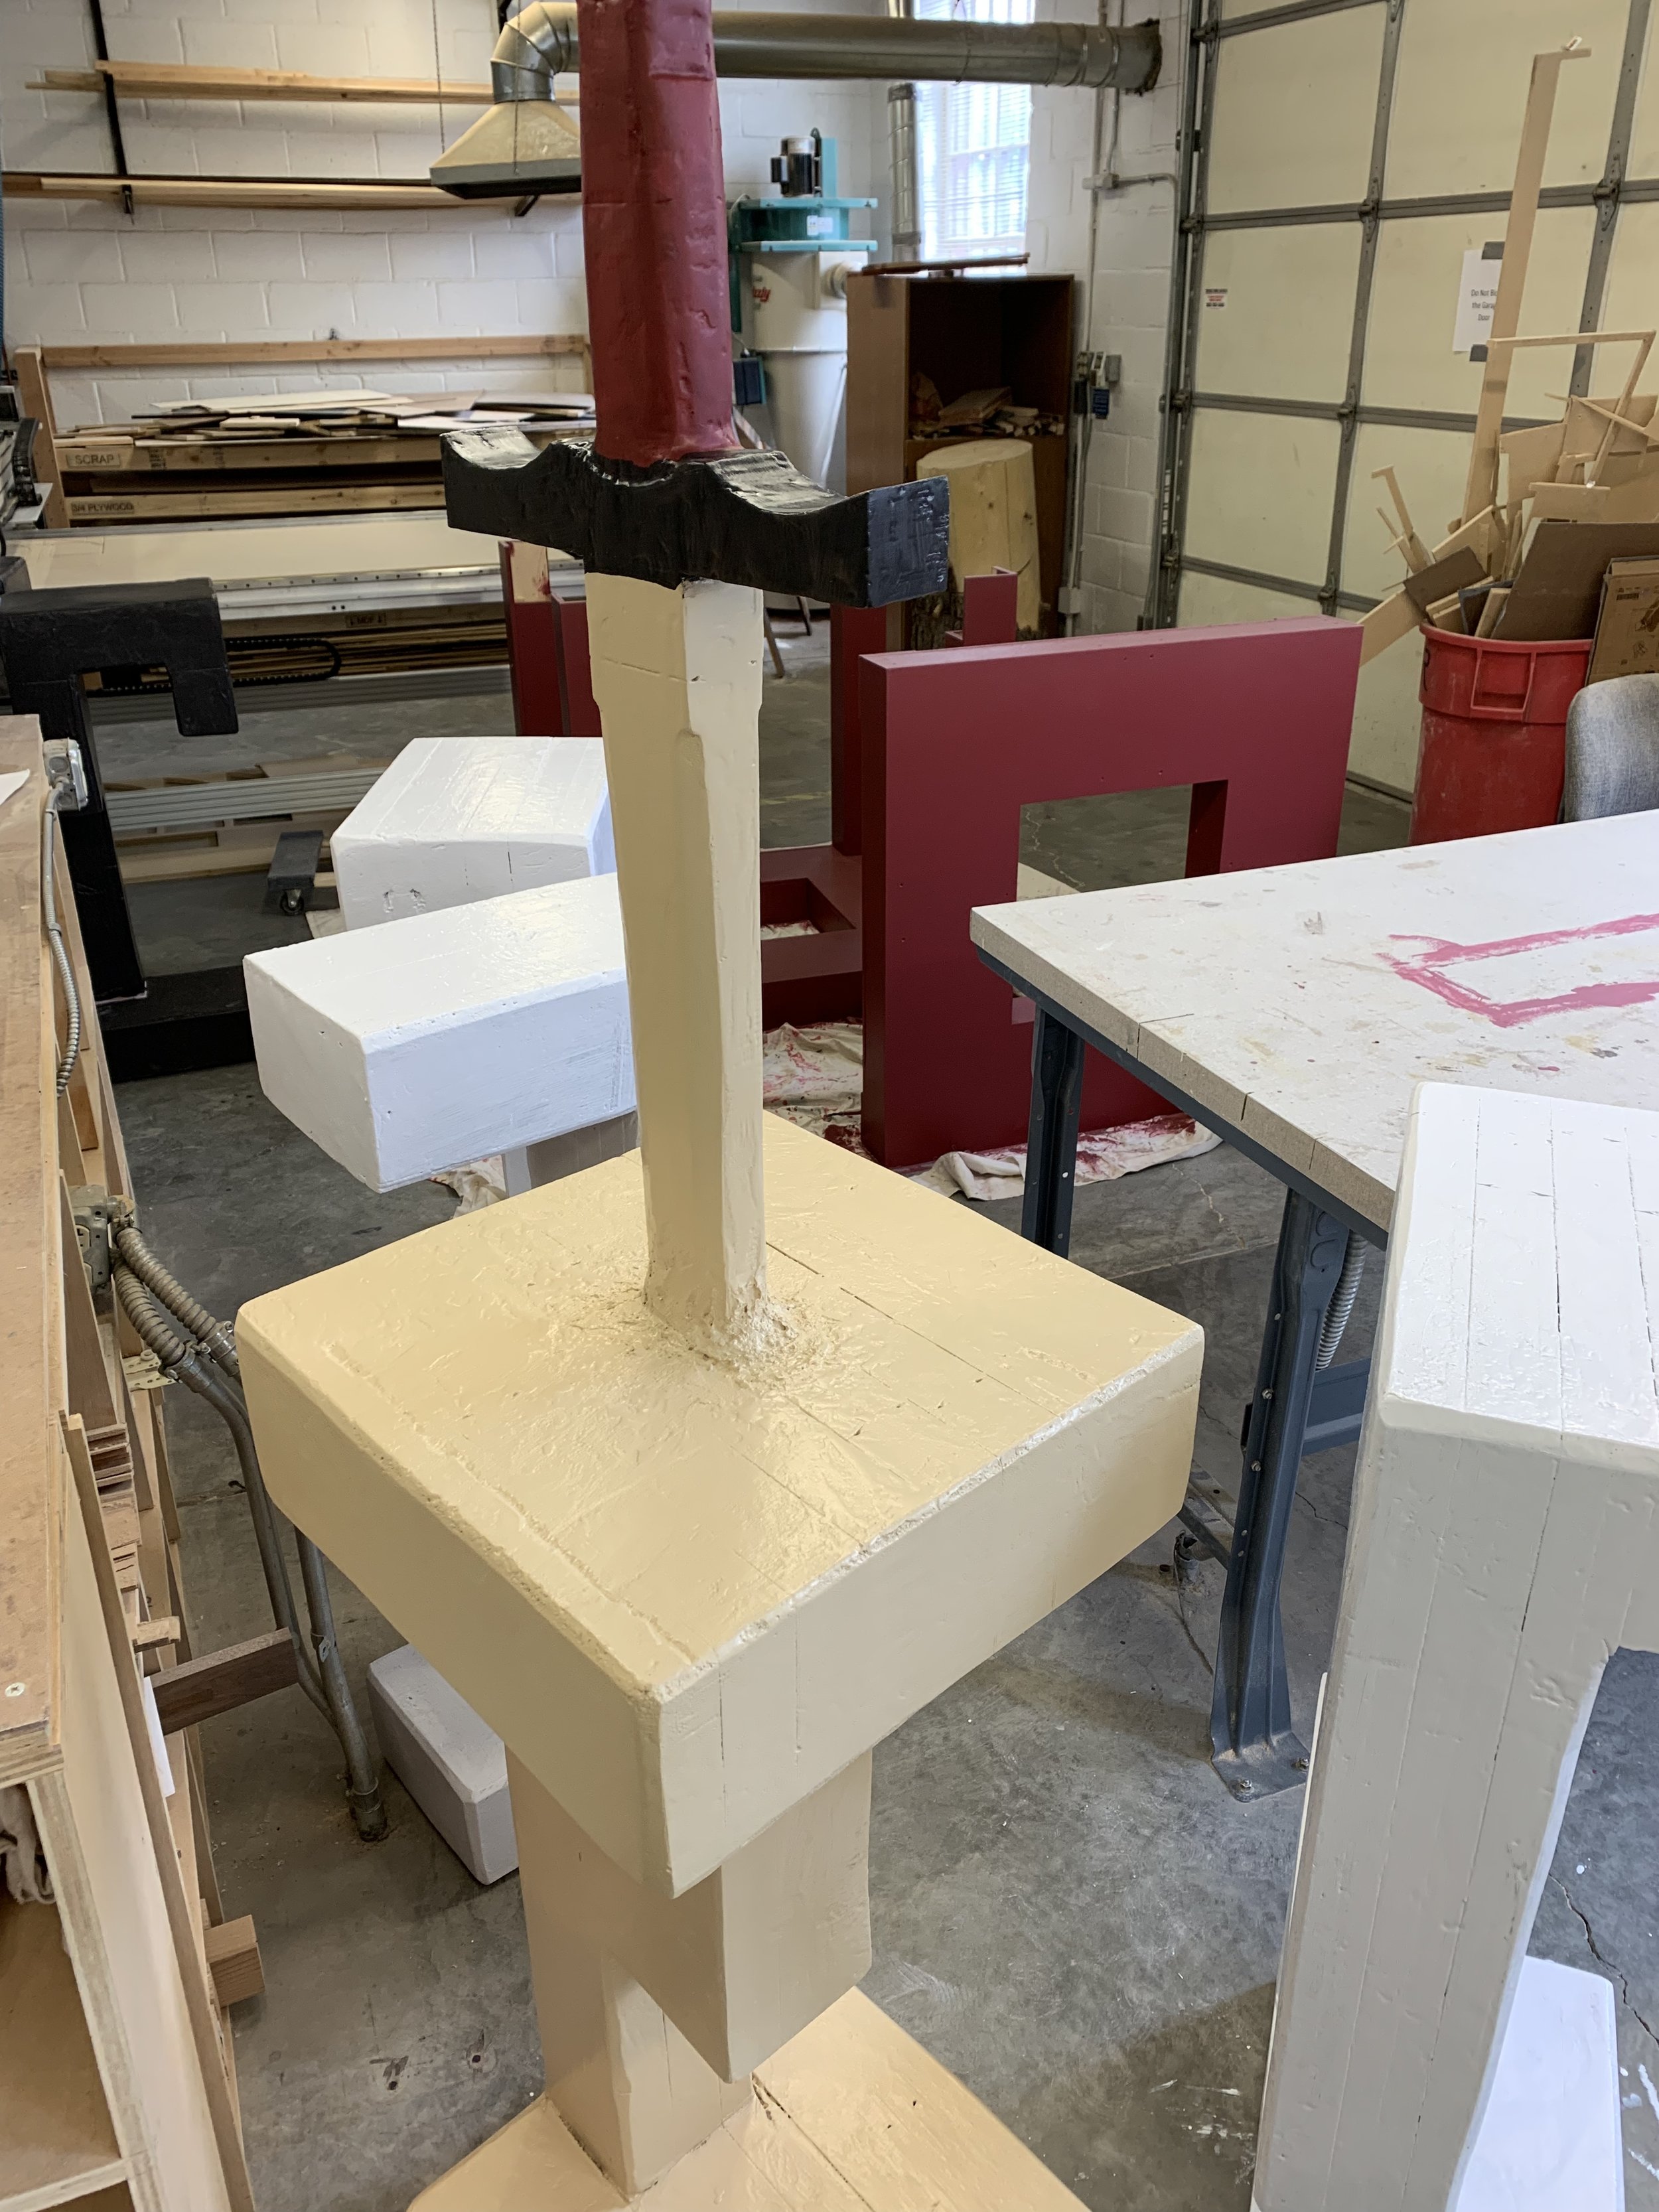
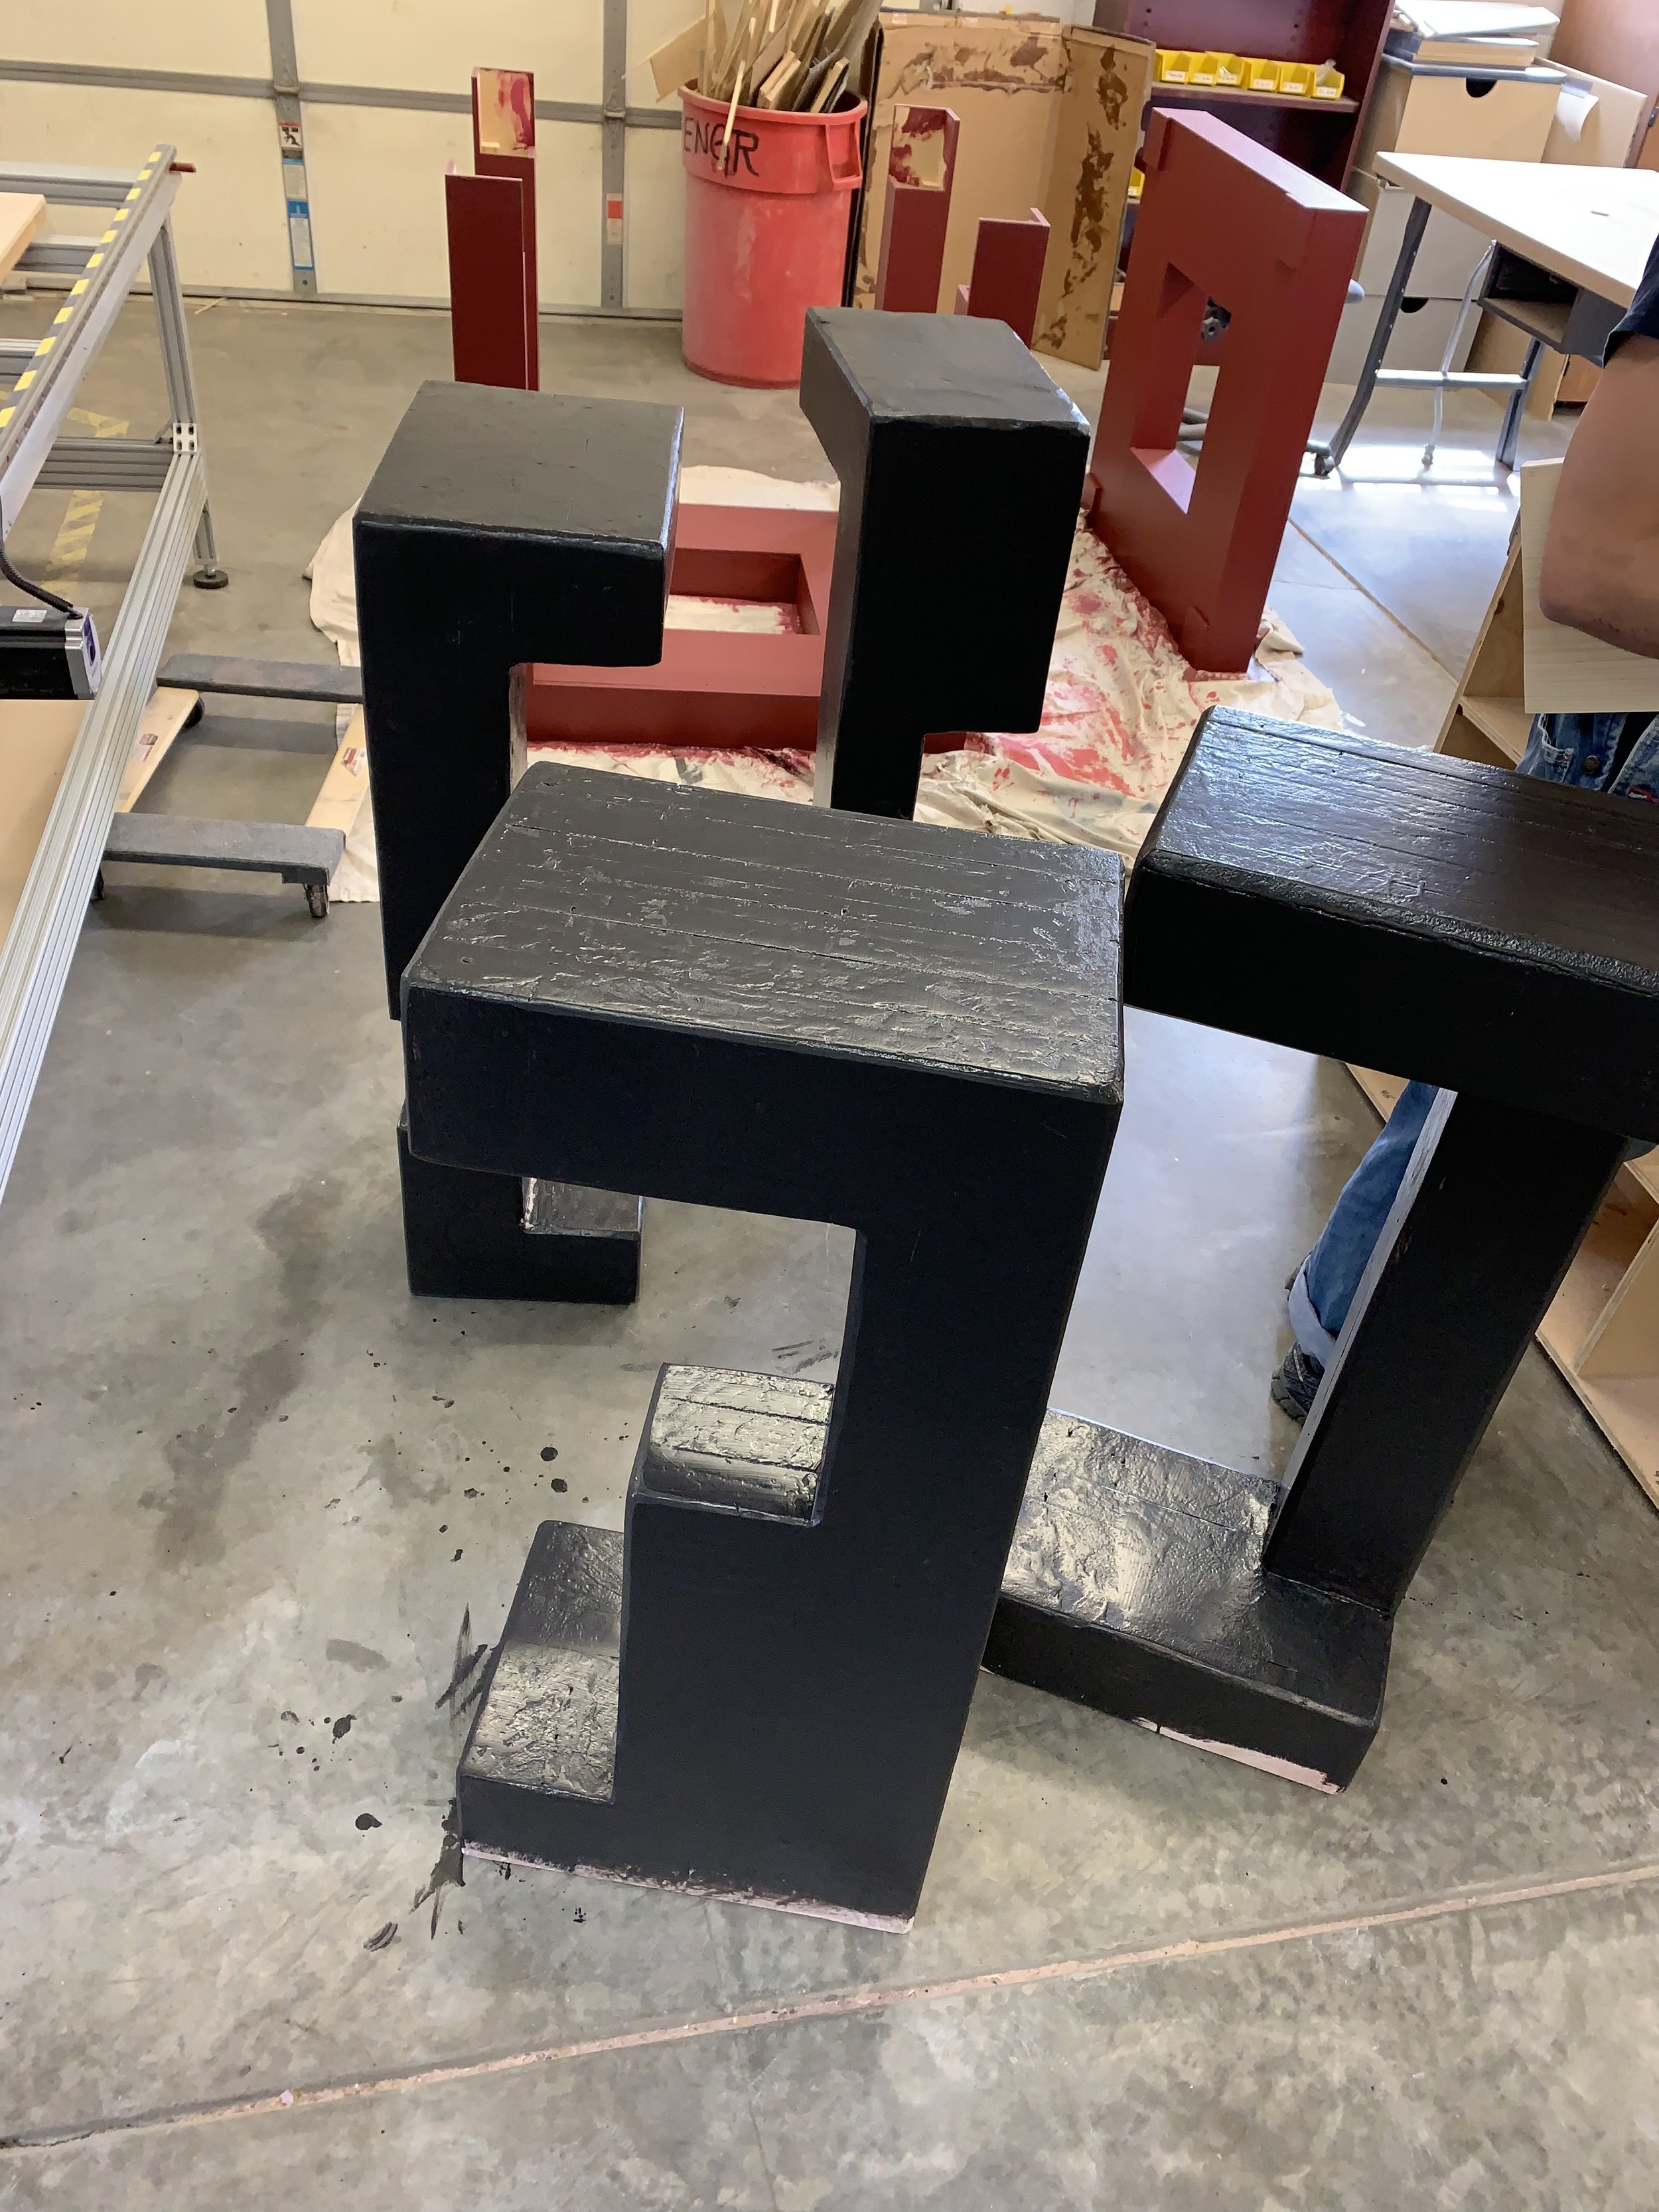
The Pieces
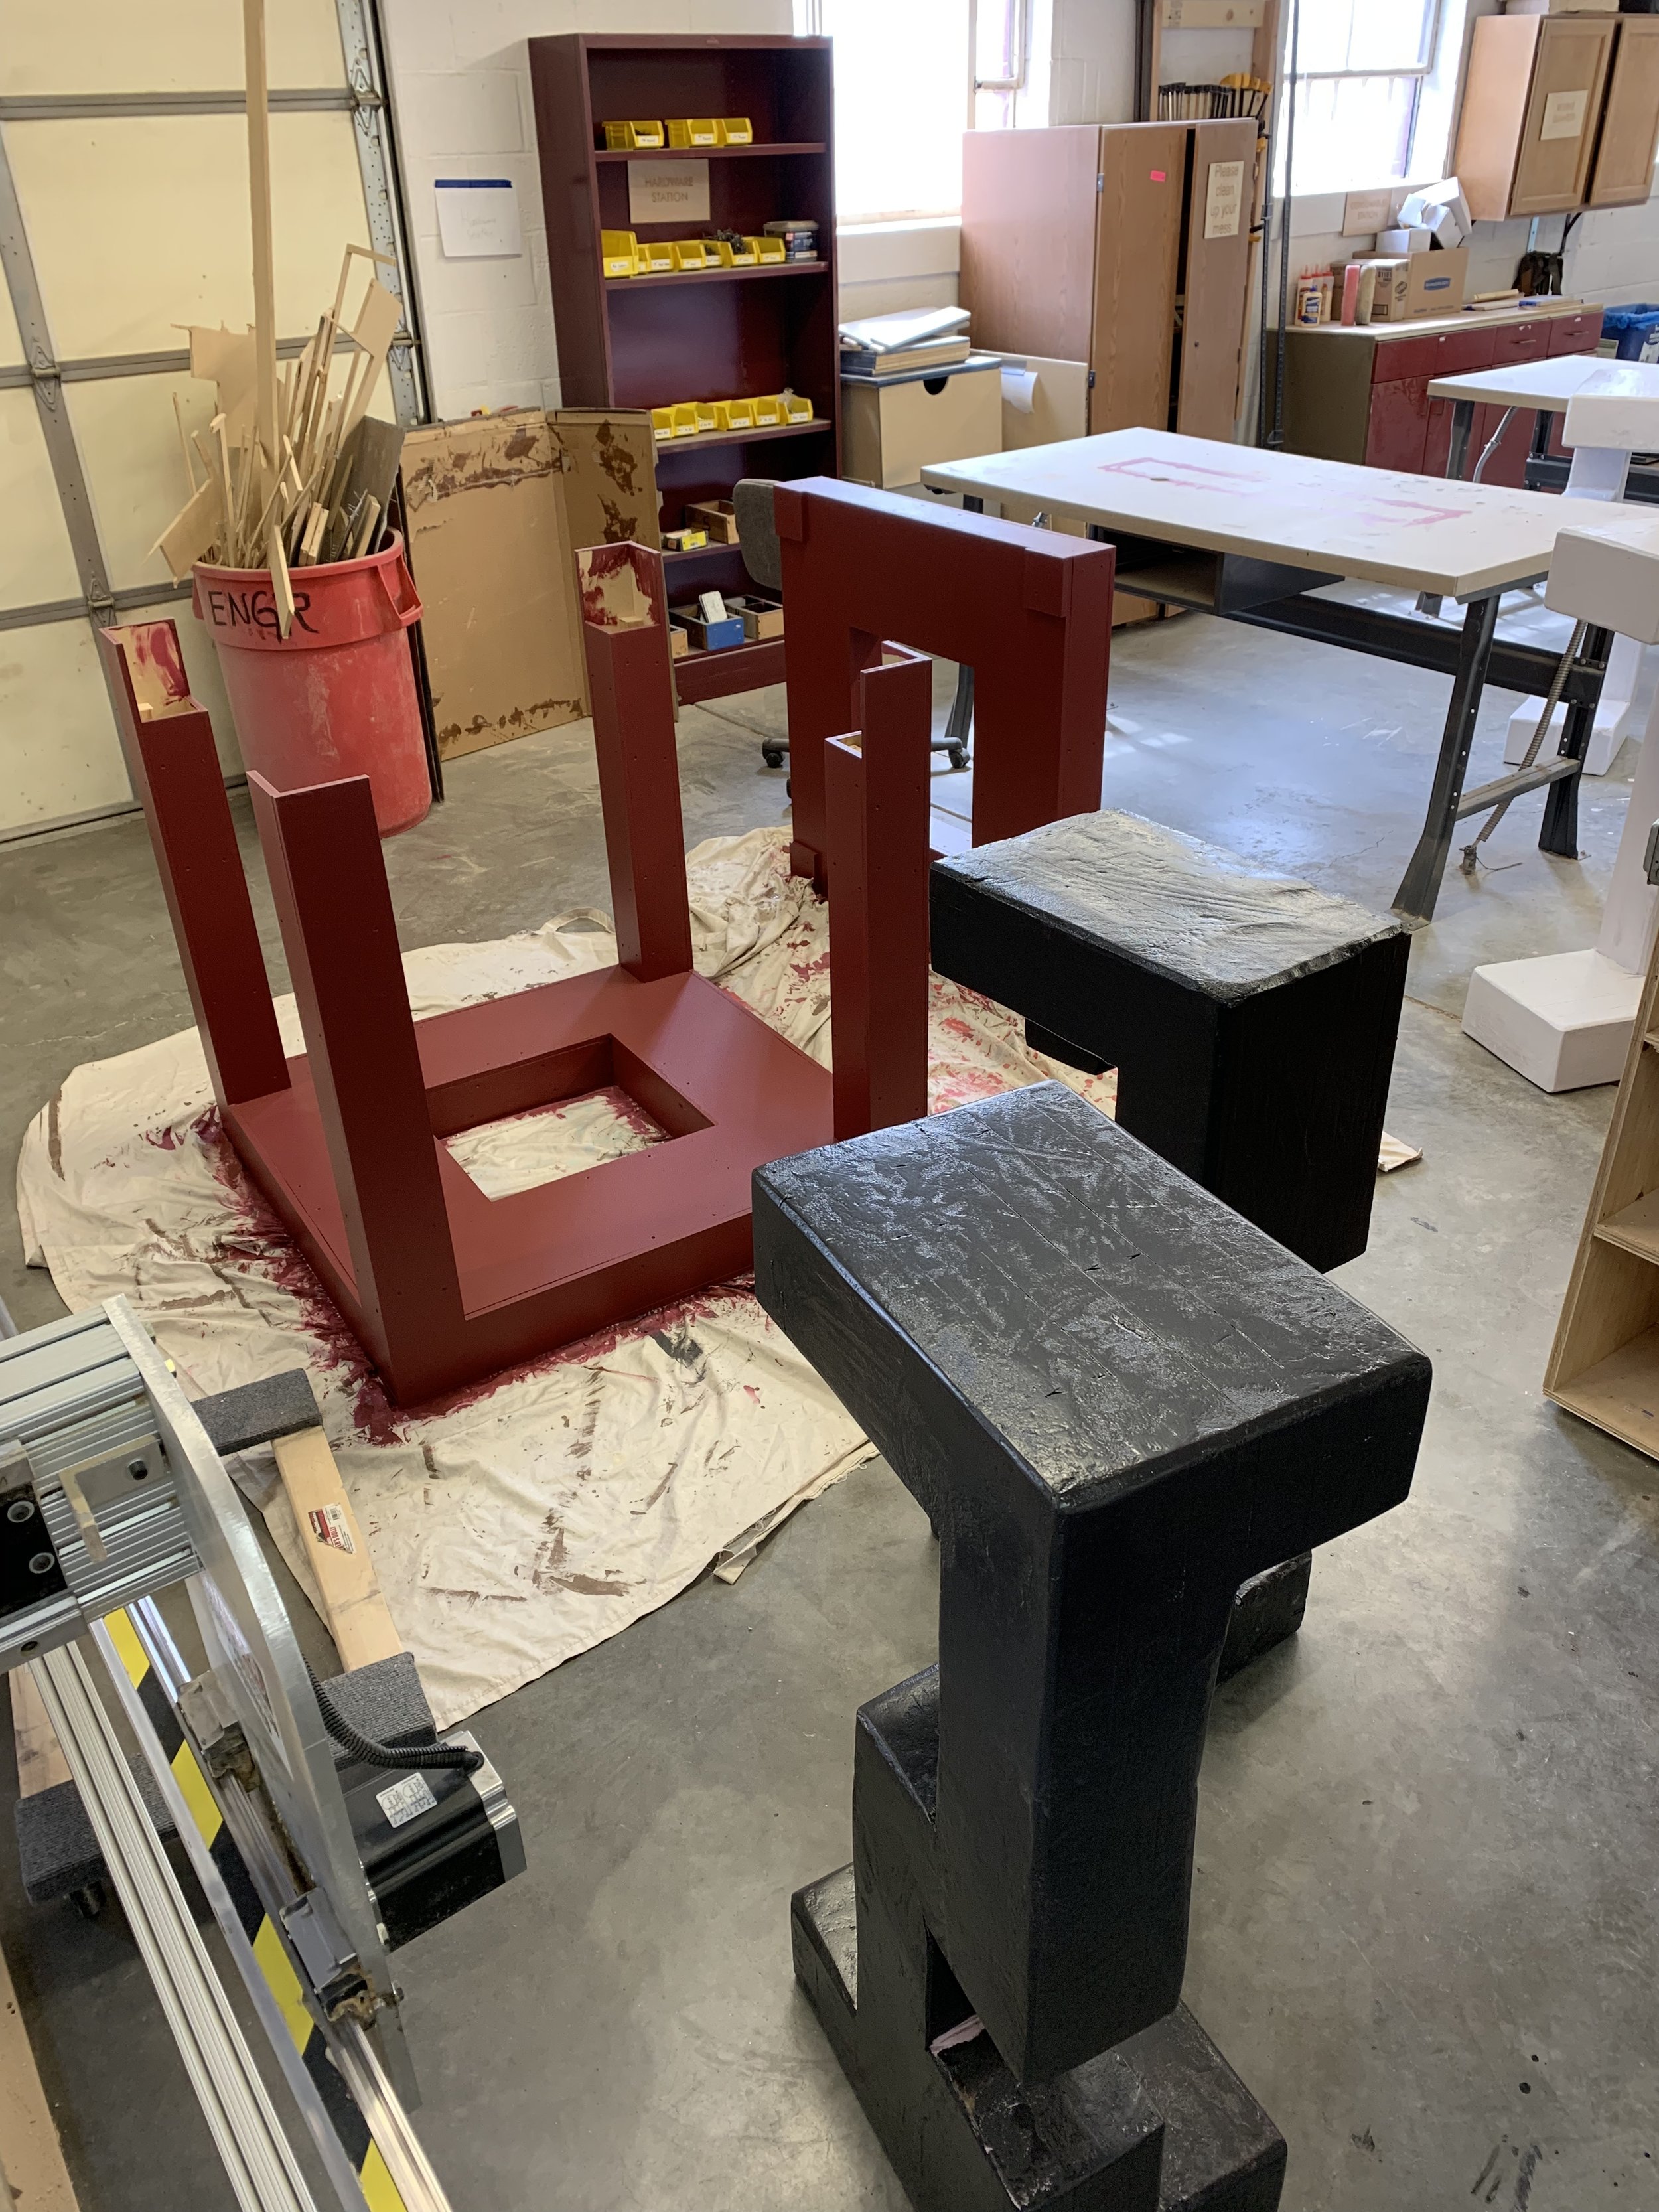
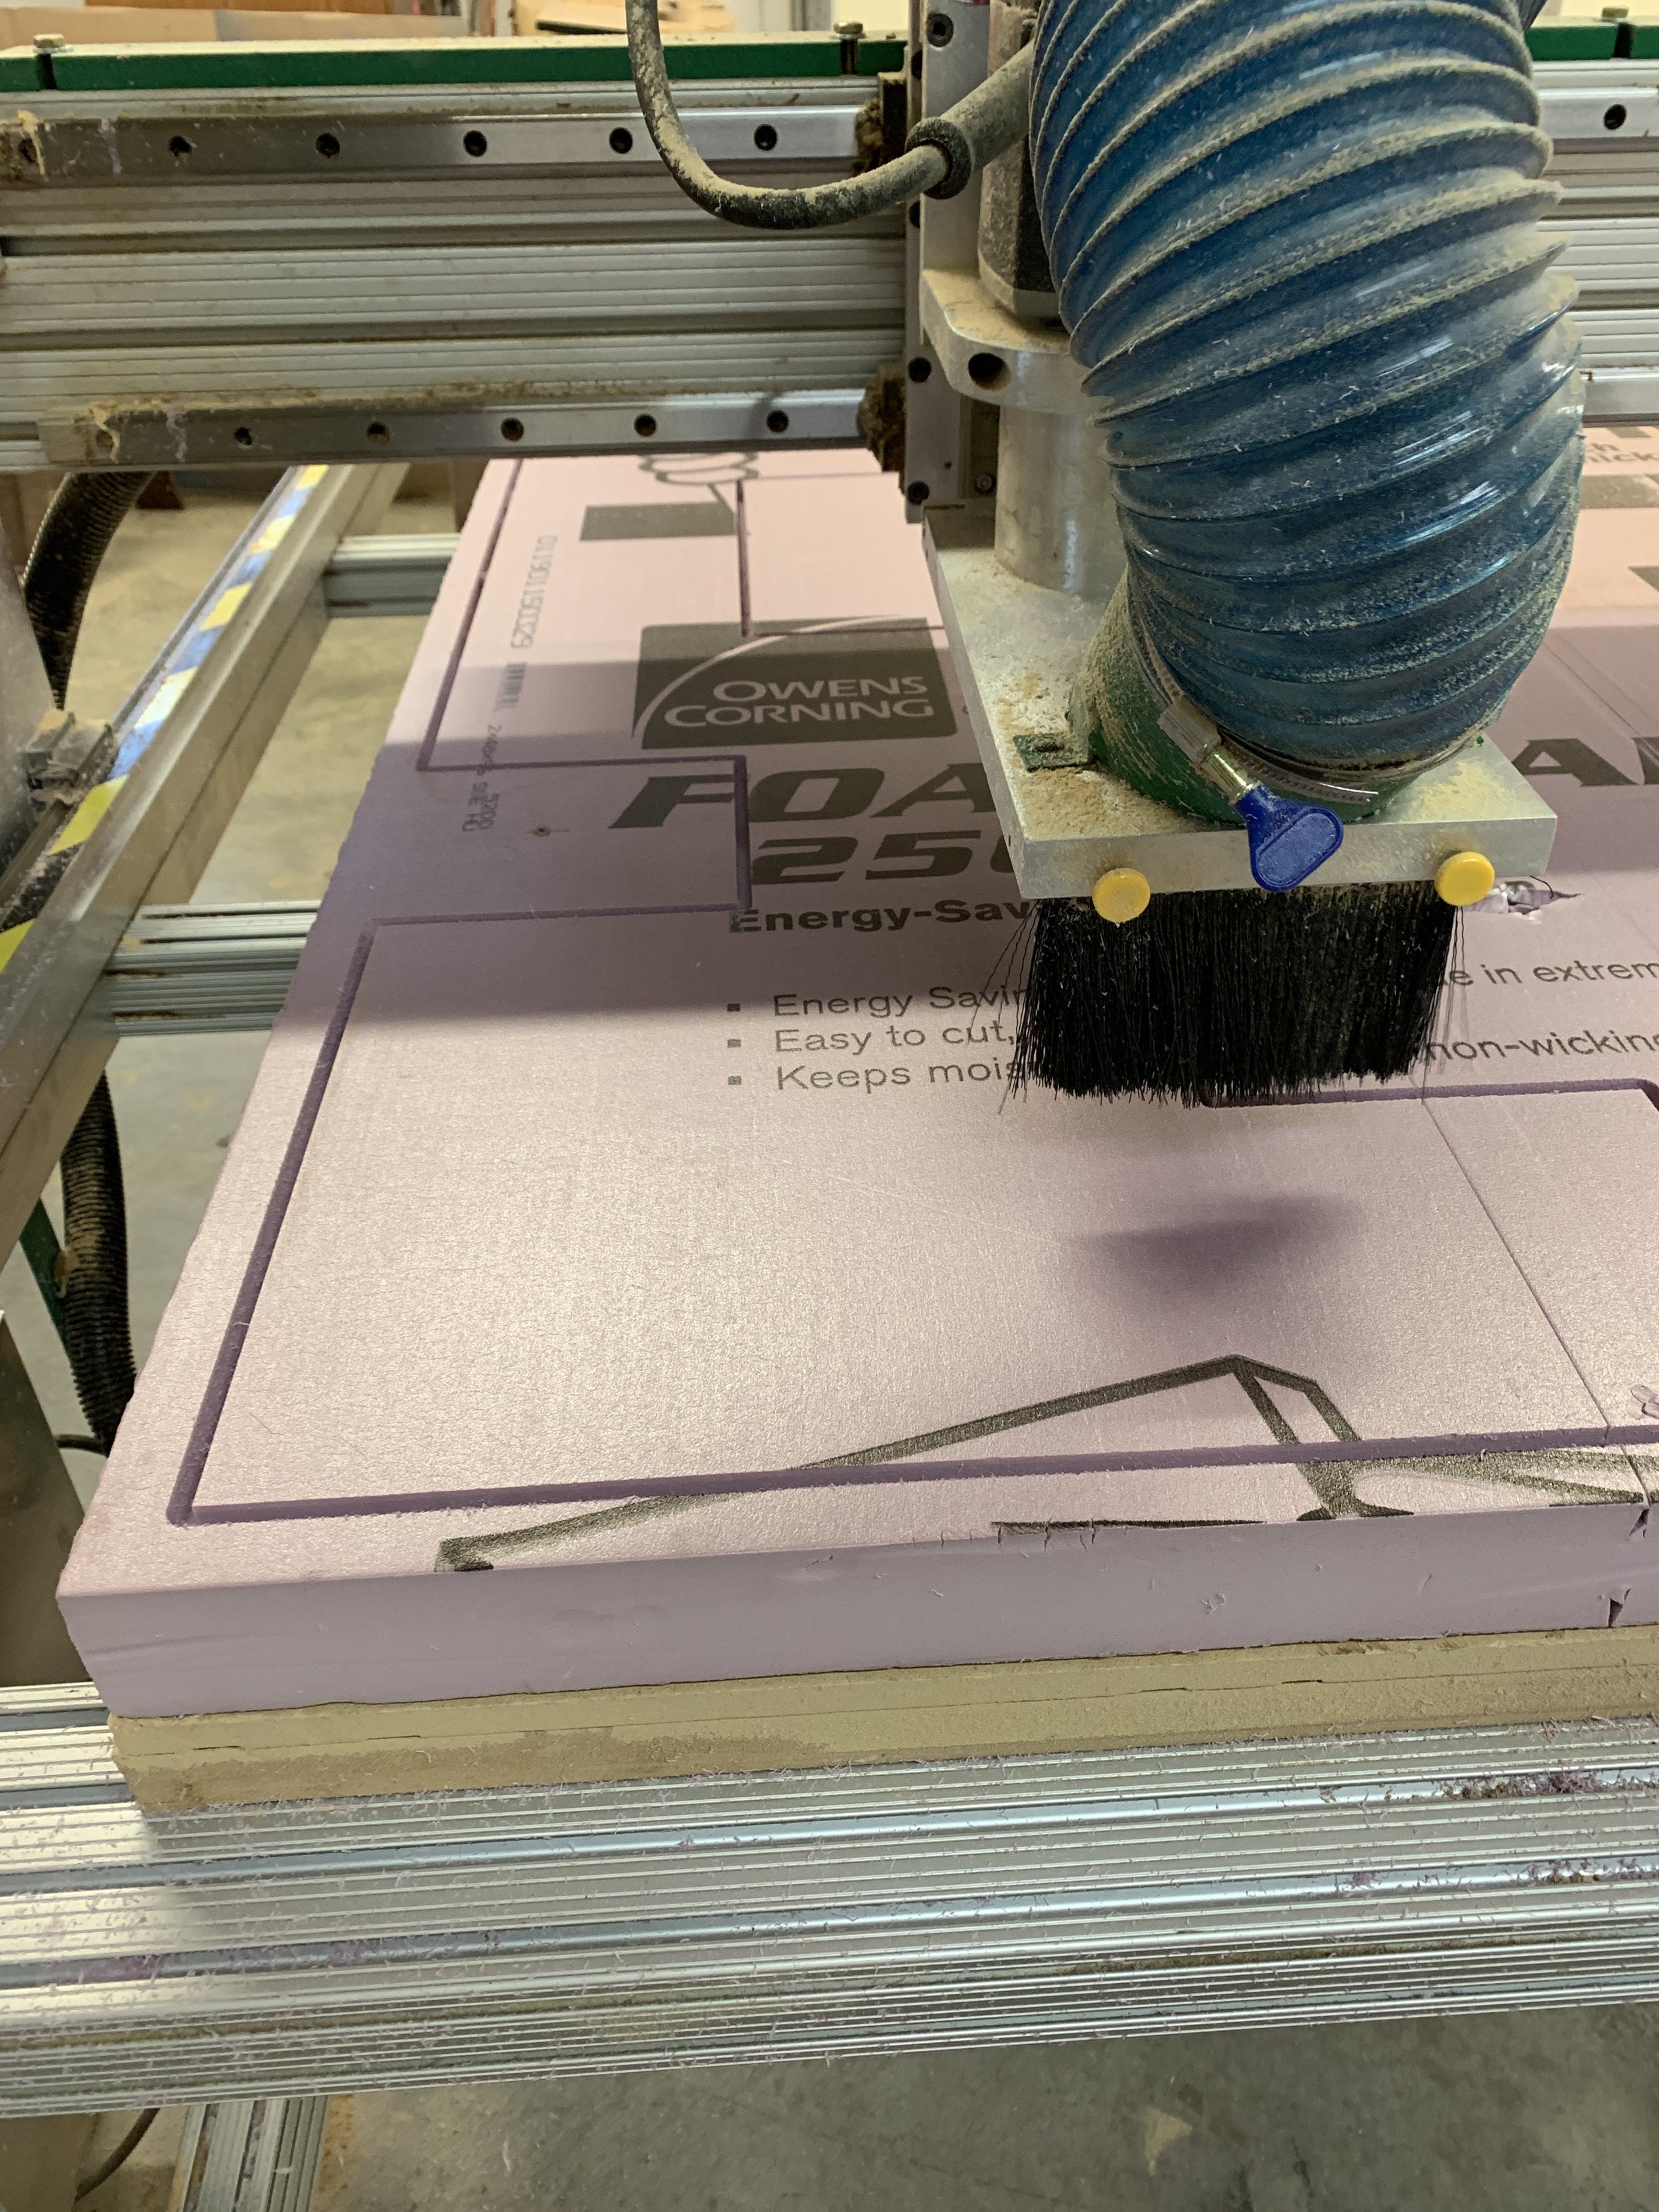
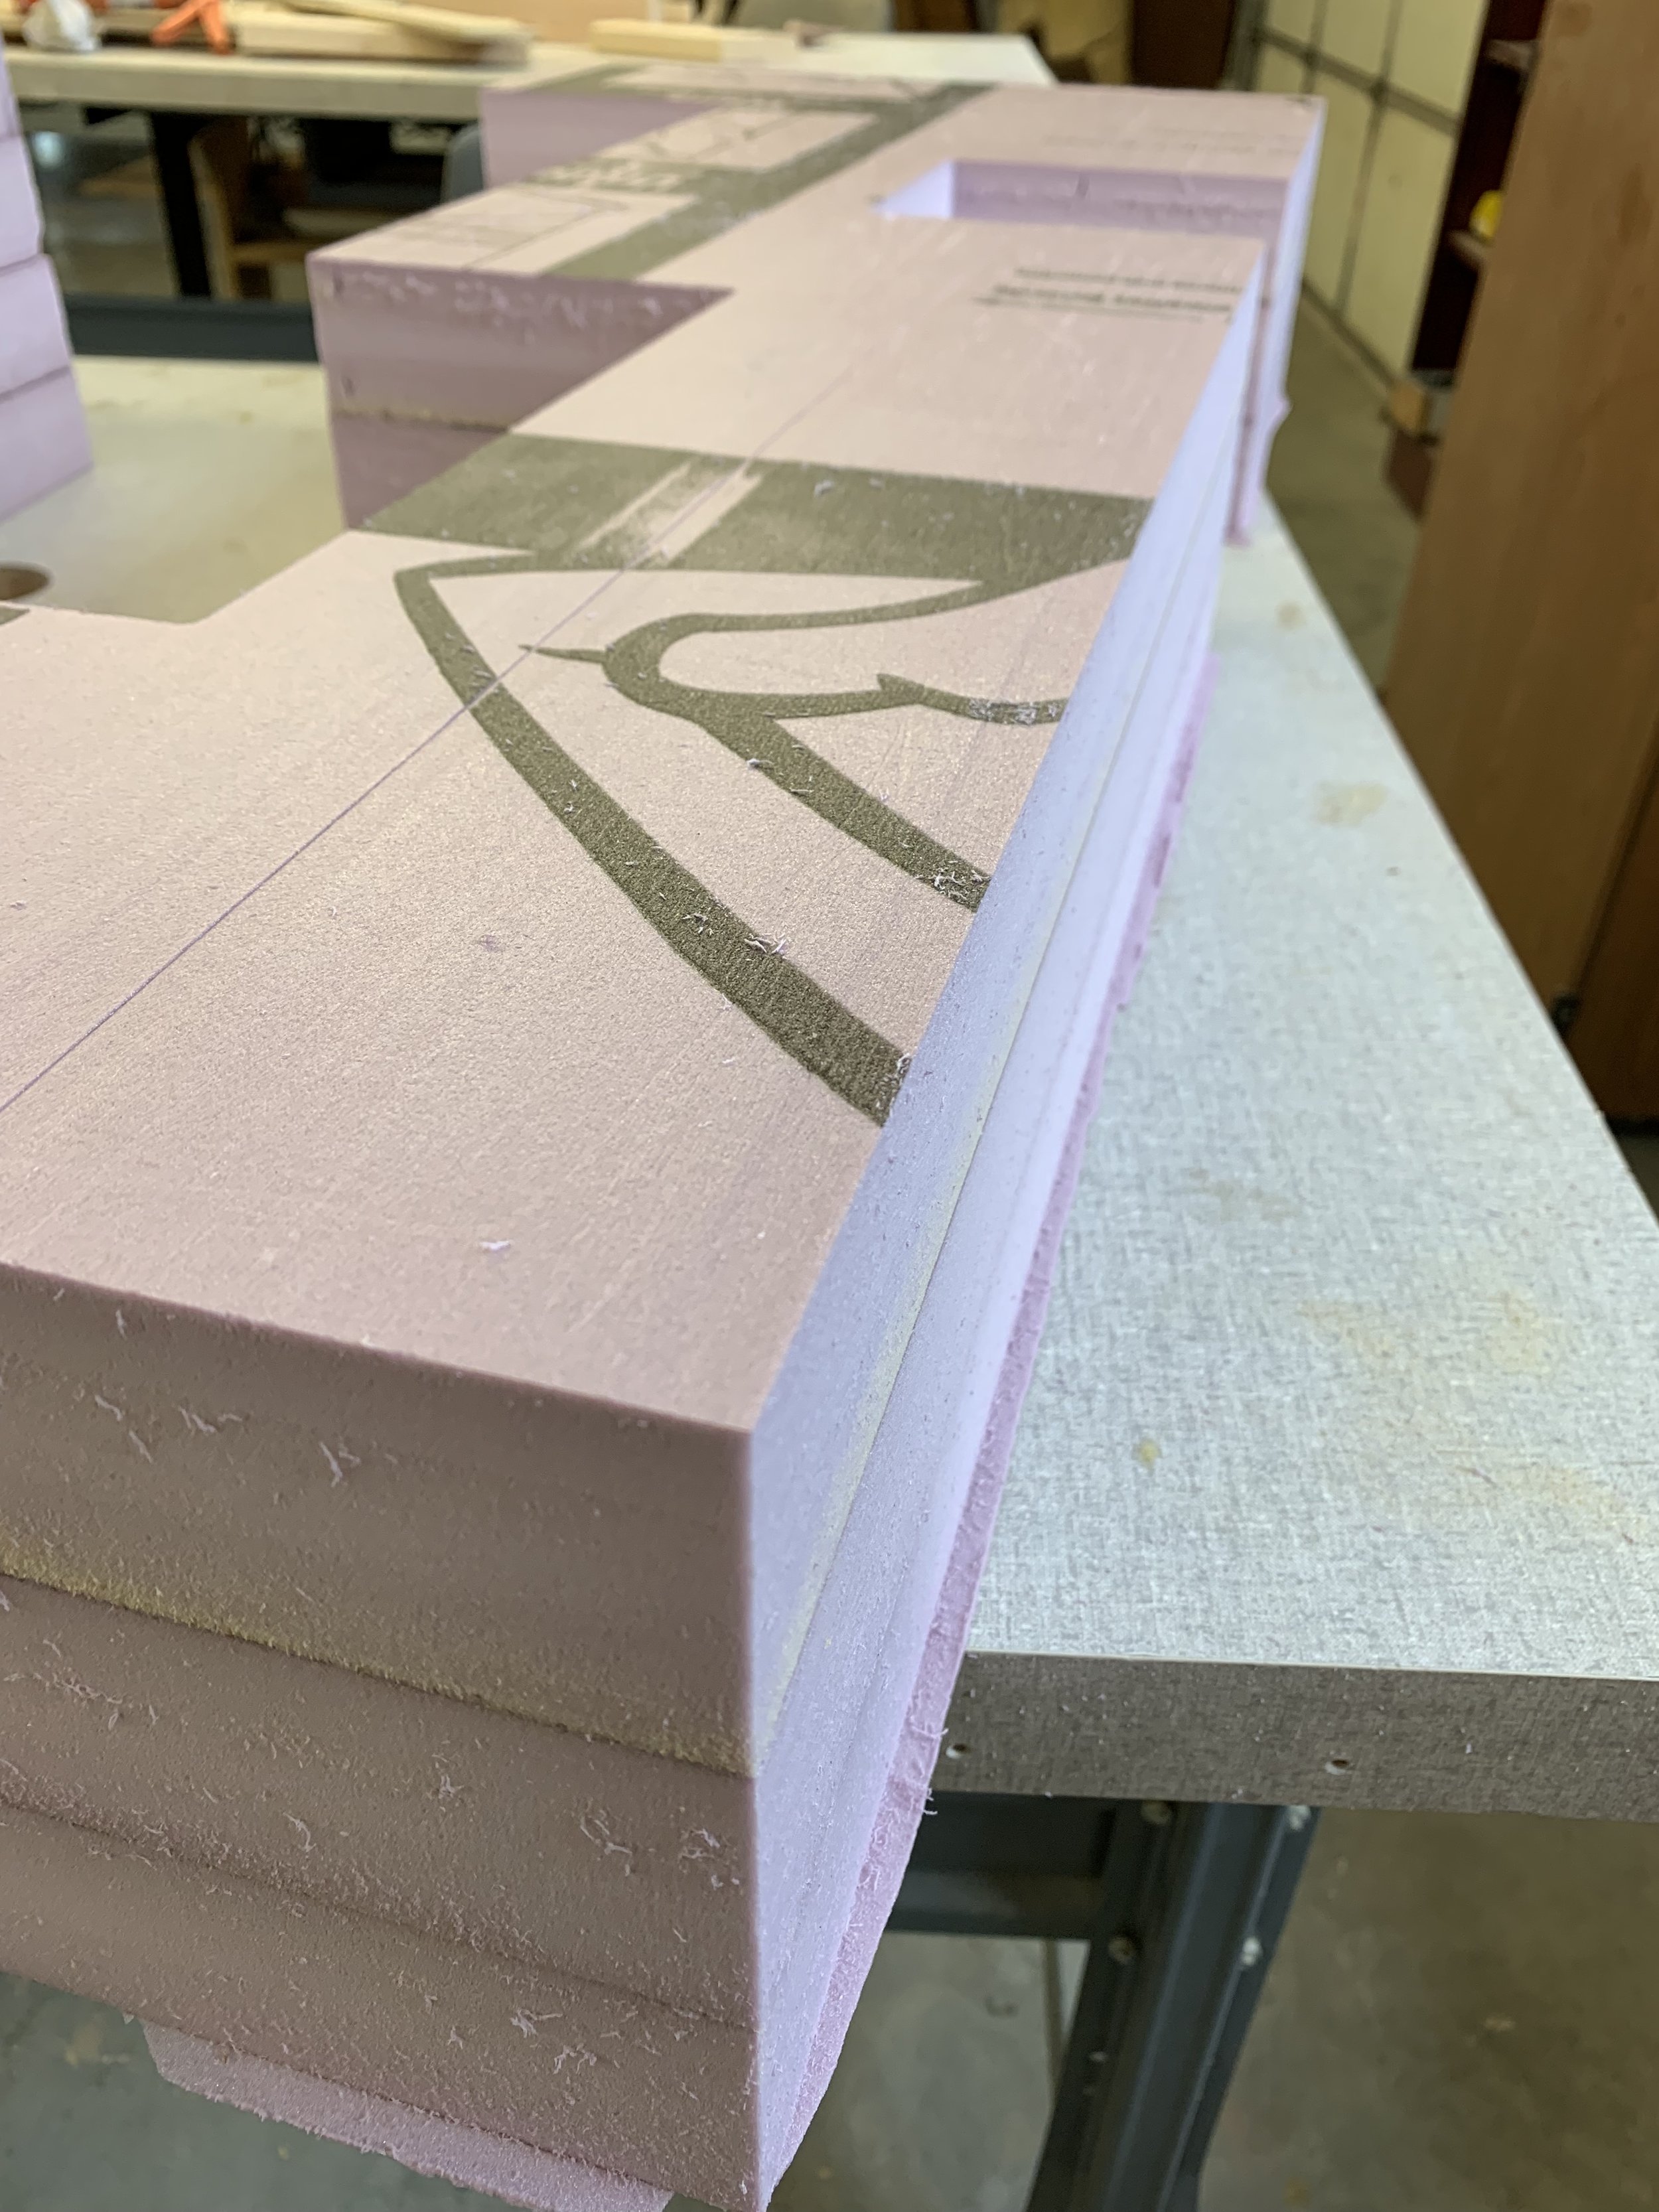
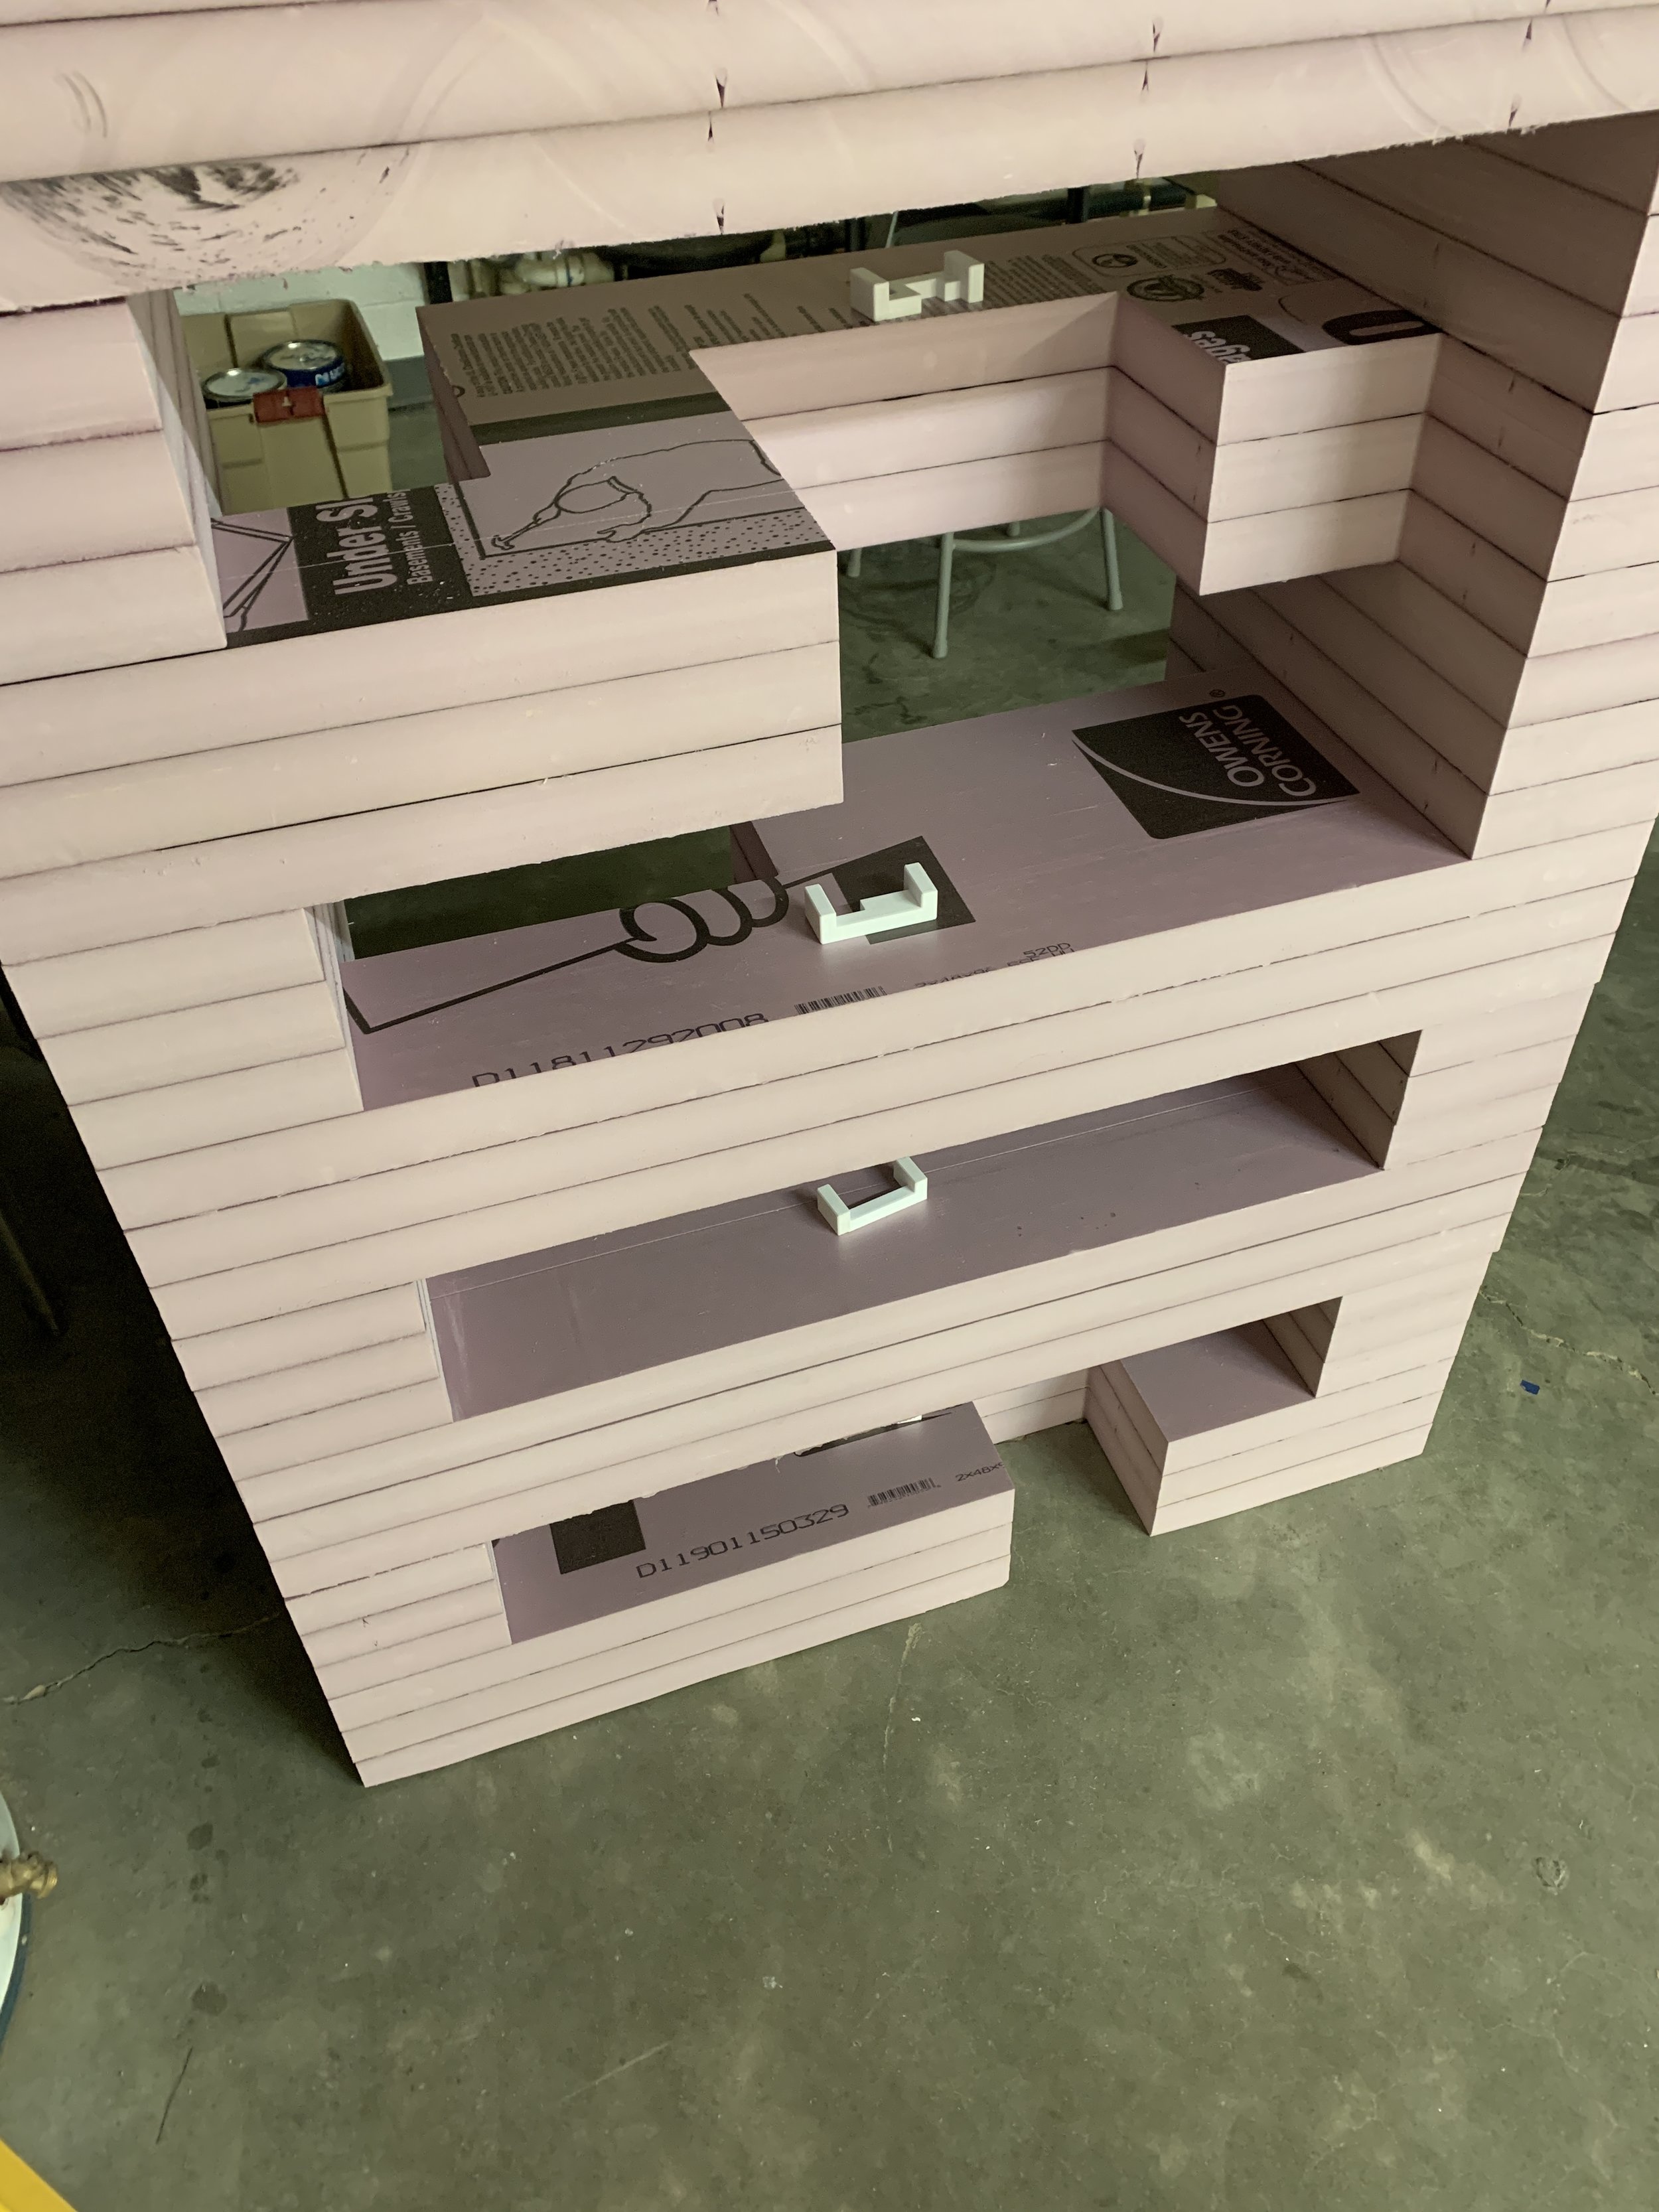
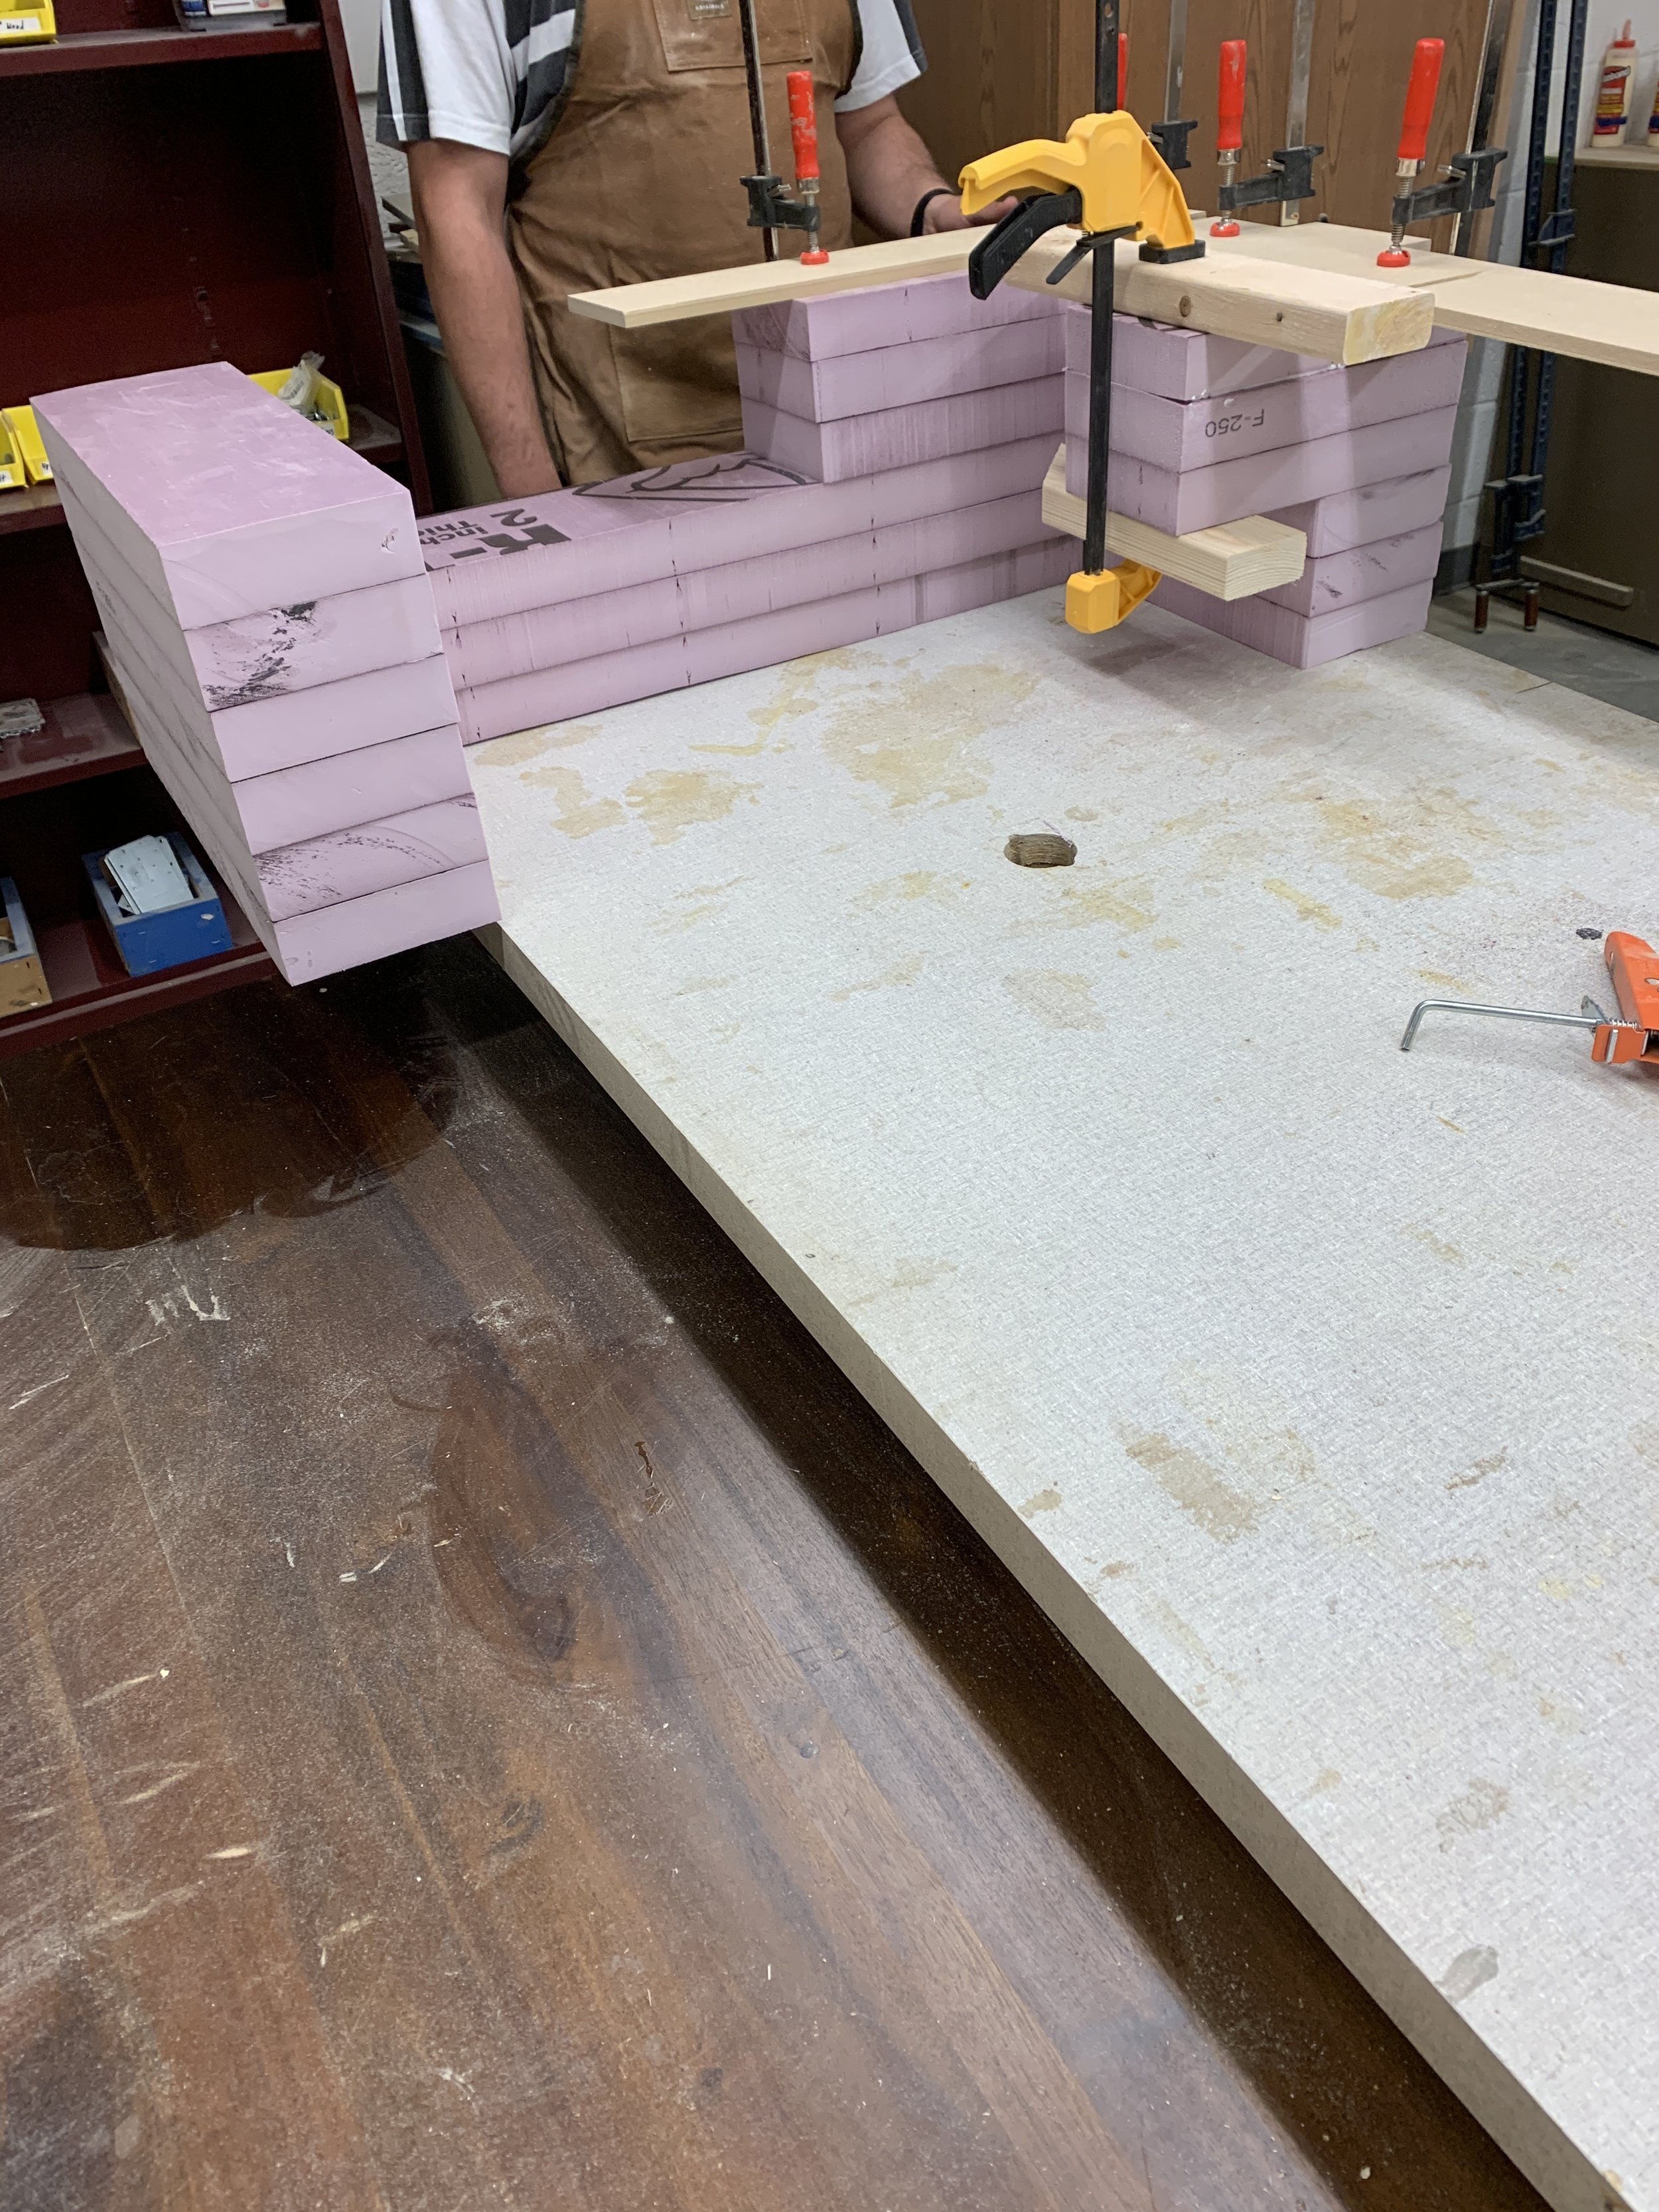
The individual puzzle pieces were created by CNC-ing 2 inch High Density Foam and layering them on top of each other with an all-purpose adhesive. After that, they were all sanded down by hand to have a somewhat loose fit. I was worried about the pieces being tight and causing people to break them while moving them around since it was intended for the general public. Once they were the right size, I did some research on a good way to give them a nice outer coating and protect the foam. I made a few calls to Reynolds Advanced materials and decided to use Habitat Cast-N-Coat to cover all of these pieces. It was a fun process using a new material and seeing how it behaved and it got quite messy at times. Once the pieces were sized and coated up, they got sanded down and painted. Voila - they were done!
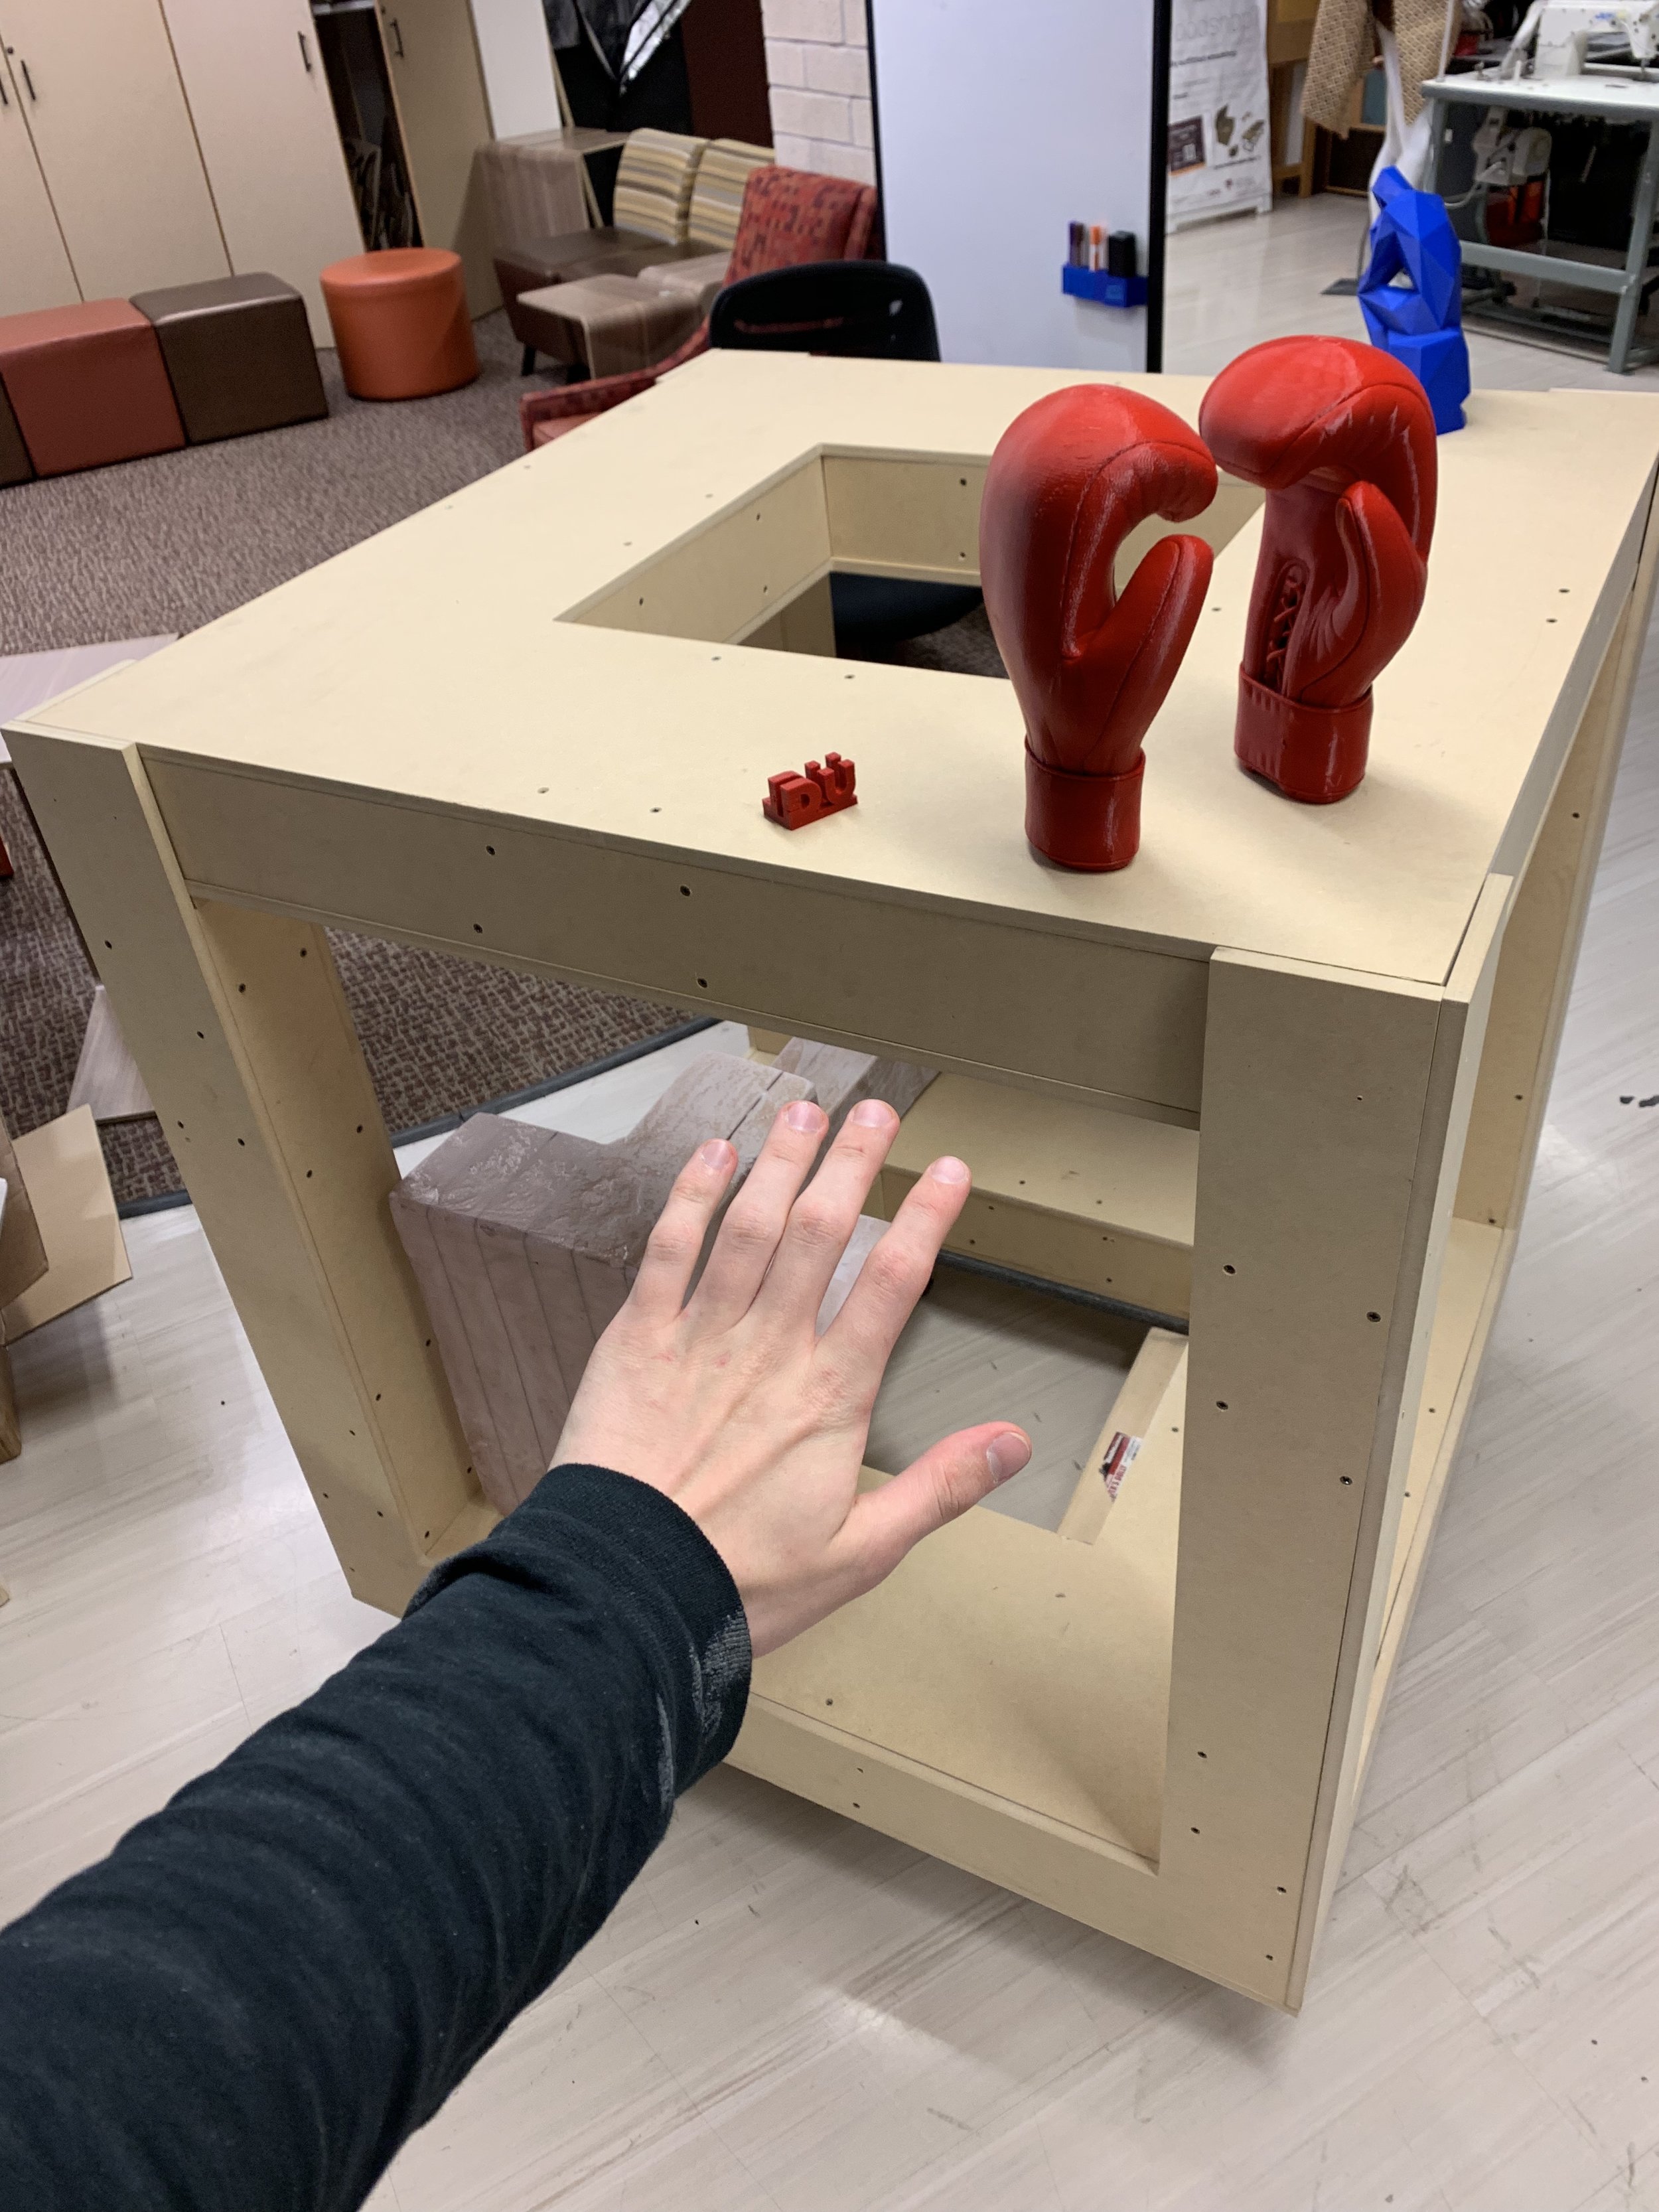
The Box
The outer frame for the puzzle was an adventure all in itself. I ended up building the entire box in one night with a couple friends. After acknowledging that it is much more difficult to build a box that has all 90° corners than it might seem, we used a lot of clamps and screws to build up a box of 1/2 inch MDF with 2x2 pieces of wood acting as connectors on all of the edges. The box features a removable lid that allows you to assemble the puzzle pieces properly before locking the sword into the puzzle in true Excalibur style.